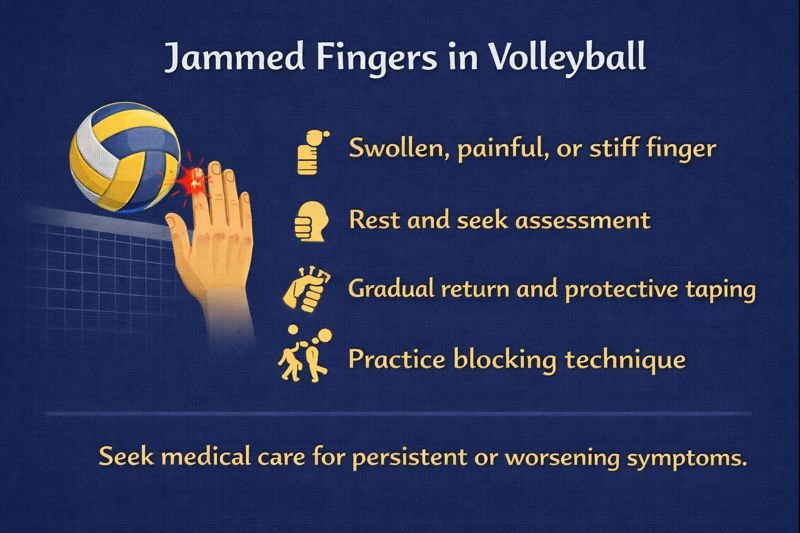
Jammed Fingers in Volleyball: Awareness, Symptoms & Prevention

Relevance in Sports & Canadian Context
Jammed fingers can temporarily affect grip, catching, serving, and daily tasks like writing or typing. Youth athletes, recreational players, and competitive volleyball teams in Canada encounter this injury during school seasons, club volleyball, or beach play in summer months.
Scenario: Mild & Realistic
During a weekend volleyball tournament, a player collided hands with a teammate while blocking. One finger became swollen and stiff, making it difficult to continue playing. A coach recommended resting and having it checked at a clinic, where it was confirmed as a simple sprain. The player returned to the sport after several weeks.
How Jammed Fingers Occur
Jamming usually happens when:
-
Fingers absorb a direct hit from the ball
-
Players collide during blocking or setting
-
Hands strike the ground during a fall
-
Ligaments or joint capsules are pushed past their normal range
These forces can stretch or irritate the soft tissues around the finger joints.
Possible Signs & Symptoms
Common symptoms of finger jamming include:
-
Local swelling
-
Stiffness or difficulty bending
-
Tenderness around the joint
-
Reduced grip strength
-
Mild bruising
-
Pain during sport or daily activities
Some finger injuries initially seem mild but may involve small fractures or dislocations, which require healthcare assessment for confirmation.
When to Seek Medical or Sports Assessment
Assessment may be helpful when:
-
Pain is severe
-
Finger movement is significantly limited
-
The finger appears crooked or deformed
-
Numbness or tingling develops
-
Swelling persists or worsens
-
Symptoms interfere with fine motor skills or sport
Healthcare professionals determine whether imaging, splinting, taping, rest, or rehabilitation is appropriate.
Sport & Activity Considerations
Players and coaches often modify activity or temporarily rest following finger injuries. Sport medicine and physiotherapy professionals may recommend:
-
Safe return-to-play timelines
-
Grip or mobility exercises
-
Technique adjustments for blocking and setting
Returning too early can increase the risk of re-injury or compensation elsewhere in the hand.
Prevention Strategies for Volleyball
Finger injury risk can be reduced through:
-
Warm-up drills and hand mobility routines
-
Skill training for blocking and receiving
-
Effective communication during play to avoid collisions
-
Using proper setting and blocking techniques
-
Gradual return after injury with professional guidance
FAQ
1. Why are jammed fingers common in volleyball?
Volleyball involves fast hand movements, ball impacts, and occasional collisions, placing stress on finger joints and ligaments.
2. Is a jammed finger the same as a fracture?
Not necessarily. Some sprains feel similar to fractures, and only imaging can confirm the difference.
3. Can jammed fingers affect daily life?
Yes. Swelling and stiffness can temporarily affect writing, typing, and gripping.
4. Should athletes keep playing with a jammed finger?
Many athletes rest until symptoms are assessed or improve. Professionals guide return-to-sport decisions.
5. Do jammed fingers heal quickly?
Healing time varies by severity and activity level. Some resolve within weeks; others take longer.
Educational Note
This article provides public education about jammed fingers, recognition, and prevention in sport. It does not diagnose injuries or recommend specific treatments, taping methods, or medications. Healthcare and sport professionals guide injury management and return to play.
